Button disasters have snagged all of us at some point. First dates. First interviews. First innings (we’re looking at you, ballpark hot dog). Instead of hurrying to a nearby tailor, take control and fix it yourself. Here are step-by-step instructions to save the day (and your self respect).

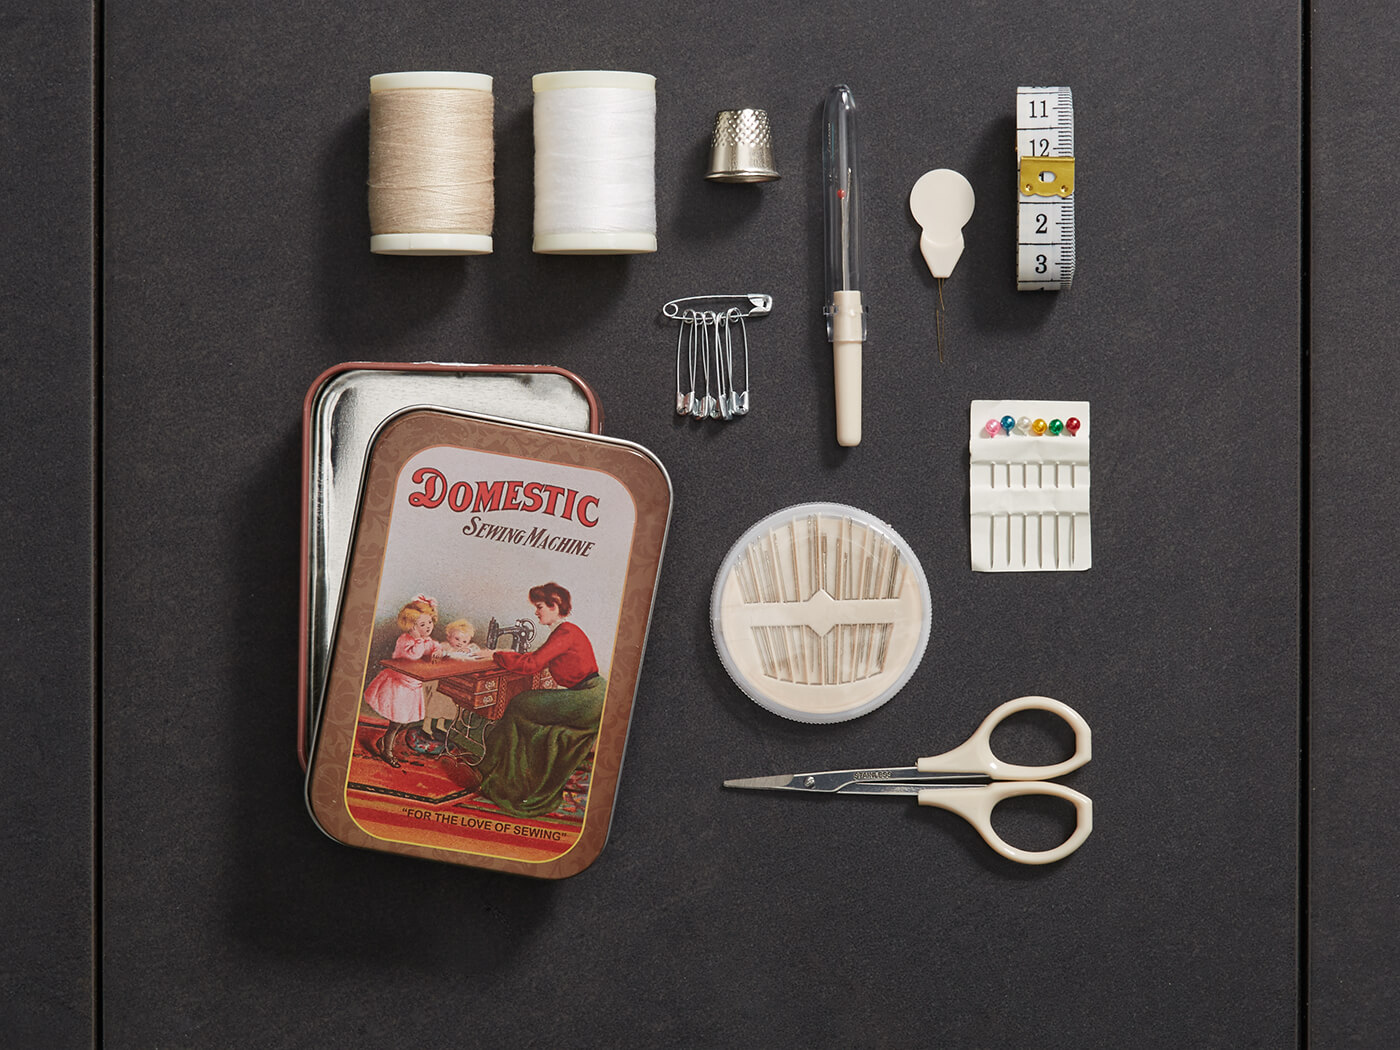
Before you can stealthily sew a button, prepare yourself by getting these tools:
- A slim sewing needle.
- Your button—either the spare that came with your item, or one that looks similar.
- 24 inches of thread, preferably the same color used on the rest of your shirt.
- A cutting tool, such as a pair of scissors.
- A toothpick or second needle, to use as a spacer.
SEW YOUR BUTTON ON IN 5 EASY STEPS:
STEP 1: THREAD THE NEEDLE
Here’s the drill: cut 24 inches of thread from the spool (you may not use all that thread, but better to have too much than not enough). Lick the end, then flatten it with your fingers before inserting it through the eye of the needle. Pull the first 12 inches of thread through the needle, then tie both ends of the thread together into a knot.
STEP 2: LINE UP YOUR BUTTON
Find the spot for your button to go—check to see that it lines up with the button hole. Once it’s aligned, stick the needle into the back of the garment and sew an “X” to mark where the button should go. This will be your anchor.
STEP 3: SEW IT, SEW IT GOOD
Again, starting from the back of the garment, stick the needle up through the fabric, and one of the button holes. Then, place the needle through the adjacent hole. Insert the toothpick sideways into the loop to ensure there’s some space between the button and the garment, then pull the stitch tight. (Note: You can either criss-cross the thread through the button holes or thread it from top hole to bottom hole. Pay attention to the threading technique on the rest of your buttons, then pick the method that matches.)
Repeat this process three times, then move to the next set of button holes and stitch them three times as well.
STEP 4: SHANKS A LOT
Remove the toothpick. Wrap the remainder of the thread underneath the button six times to create a shank. This gives the button mobility while holding it firmly in place.
STEP 5: GET KNOTTY
Send the needle back through the garment—under the button—and tie the thread off on the backside. Tie a simple knot (or two if you’re nervous), cut it, and you’re done.
CLEAN UP ON AISLE 10
If you’re really in a pinch—and you develop the sewing hands of a surgeon—you can use a twist tie in place of thread to fasten your button on. First, take your twist tie and strip the paper from the wire. Then, guide the wire through the button and the thread holes of the fabric, like you would with a needle and thread. Twist it on the backside of the garment to fasten, and you’re safe until you get get home to your sewing kit.
Sew no need to stress about a button falling off of your favorite shirt anymore. But if you are looking to add a few more button-ups to your closet, take your style quiz, and ask your expert stylist to help you find crisp shirts to add to your wardrobe. Then sit back and relax while we curate 5 fresh options to send your way. Returns and shipping are always on us.